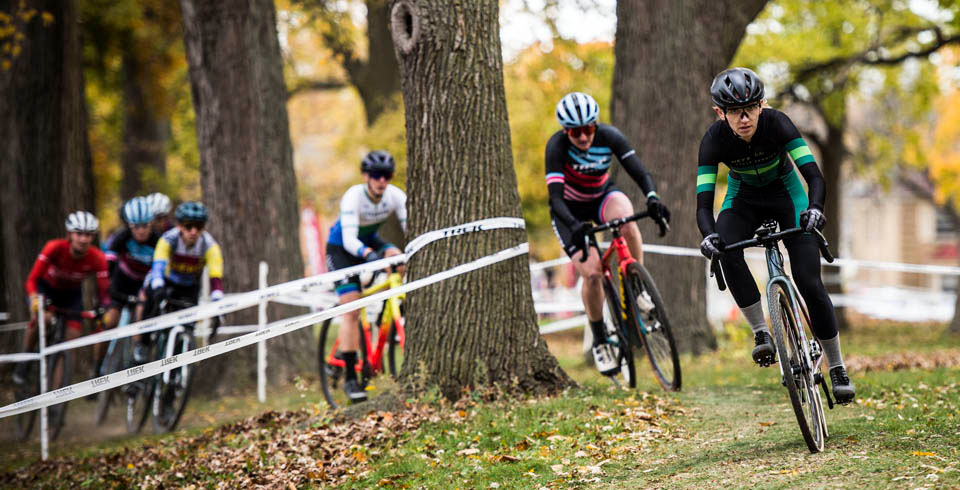
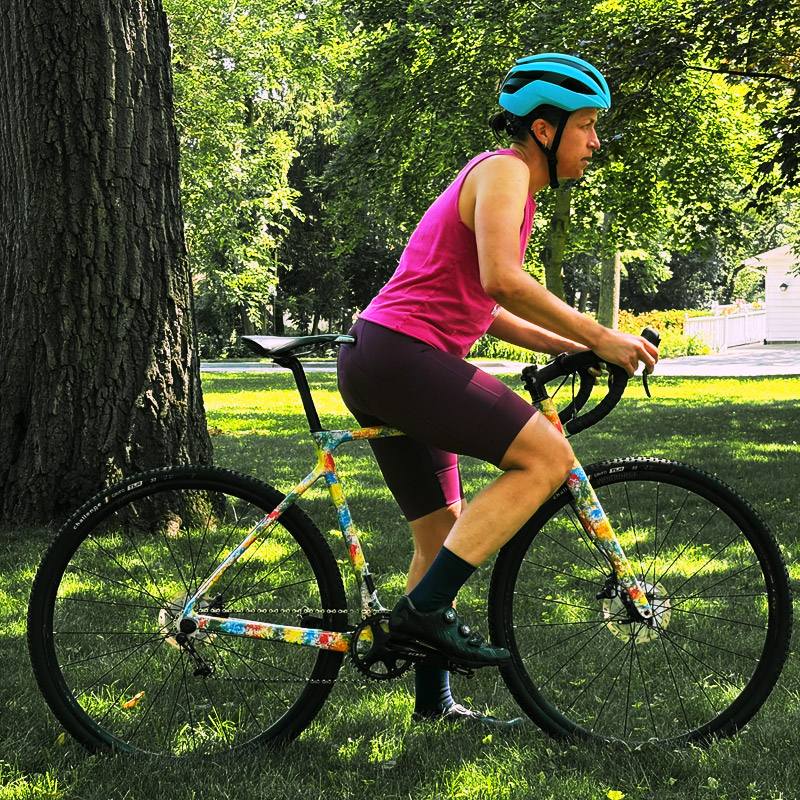
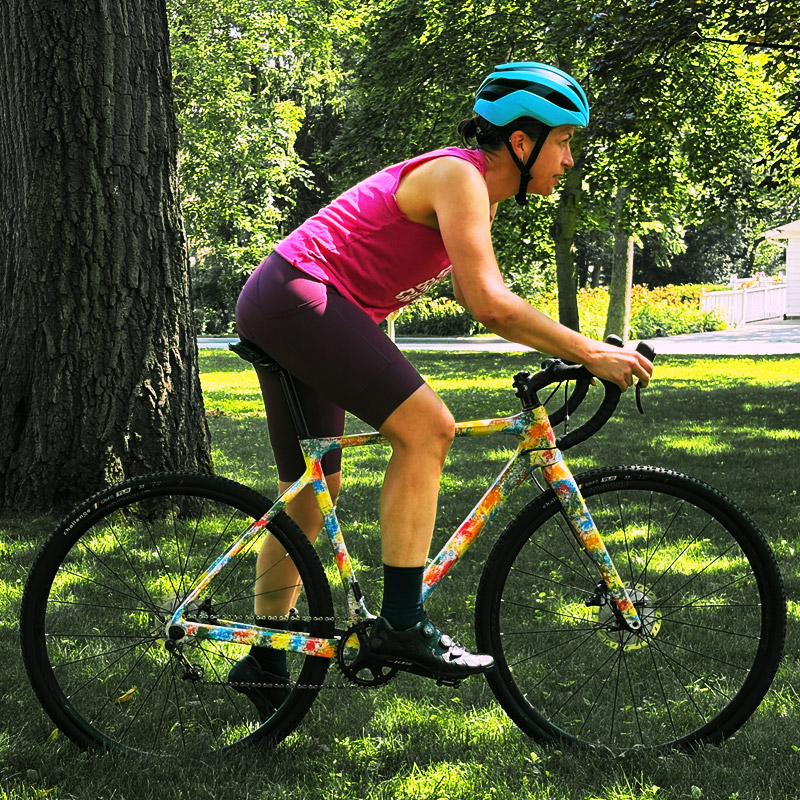
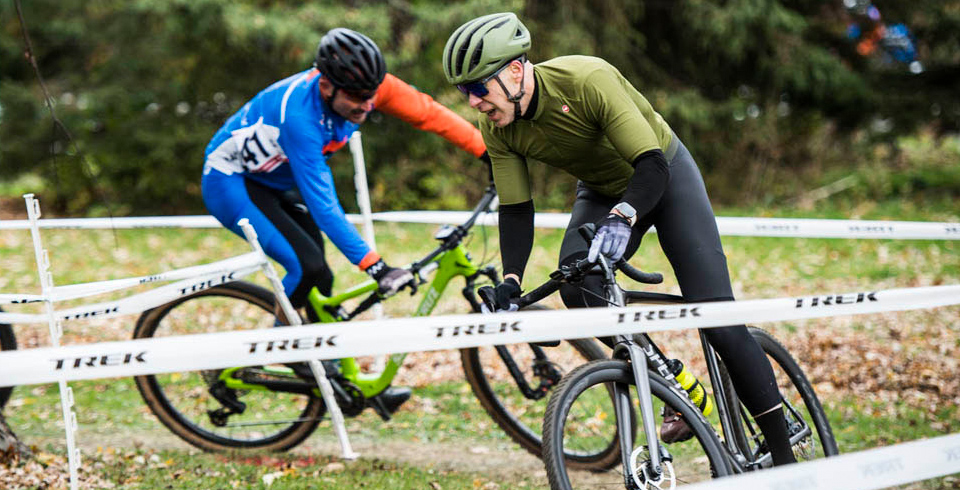
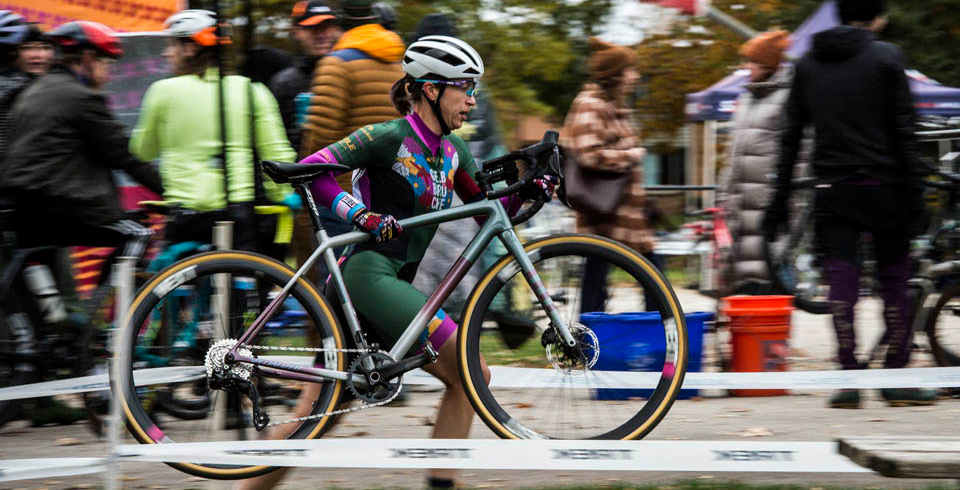
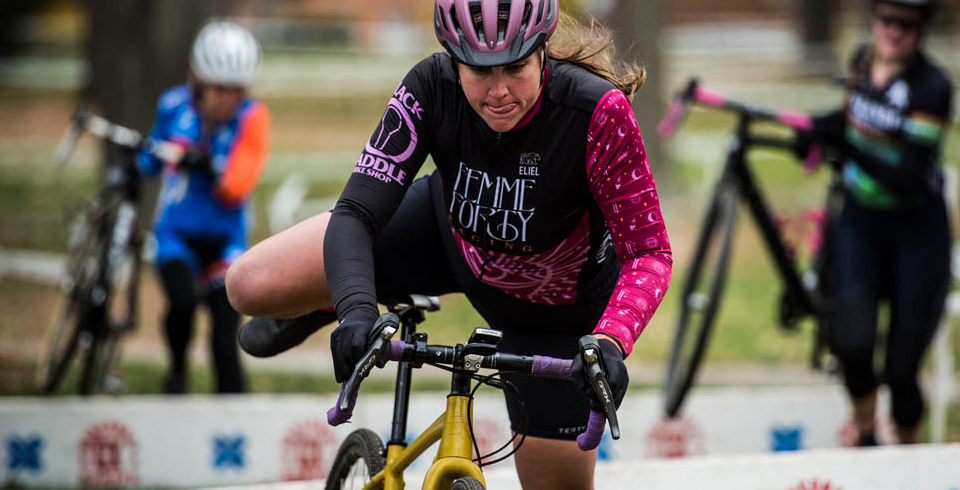
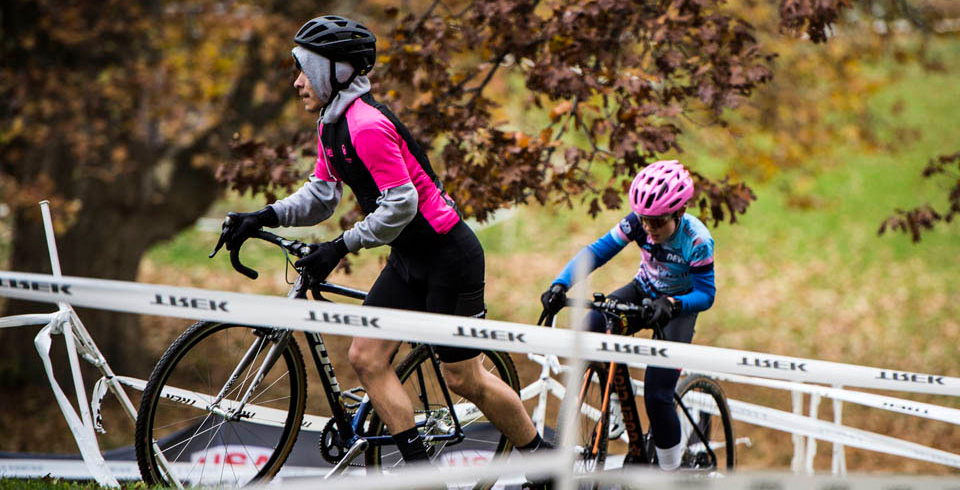
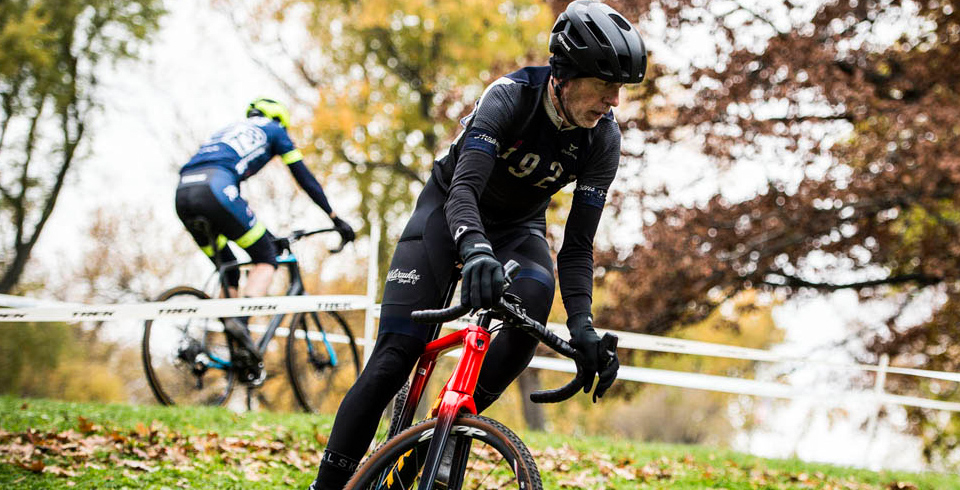
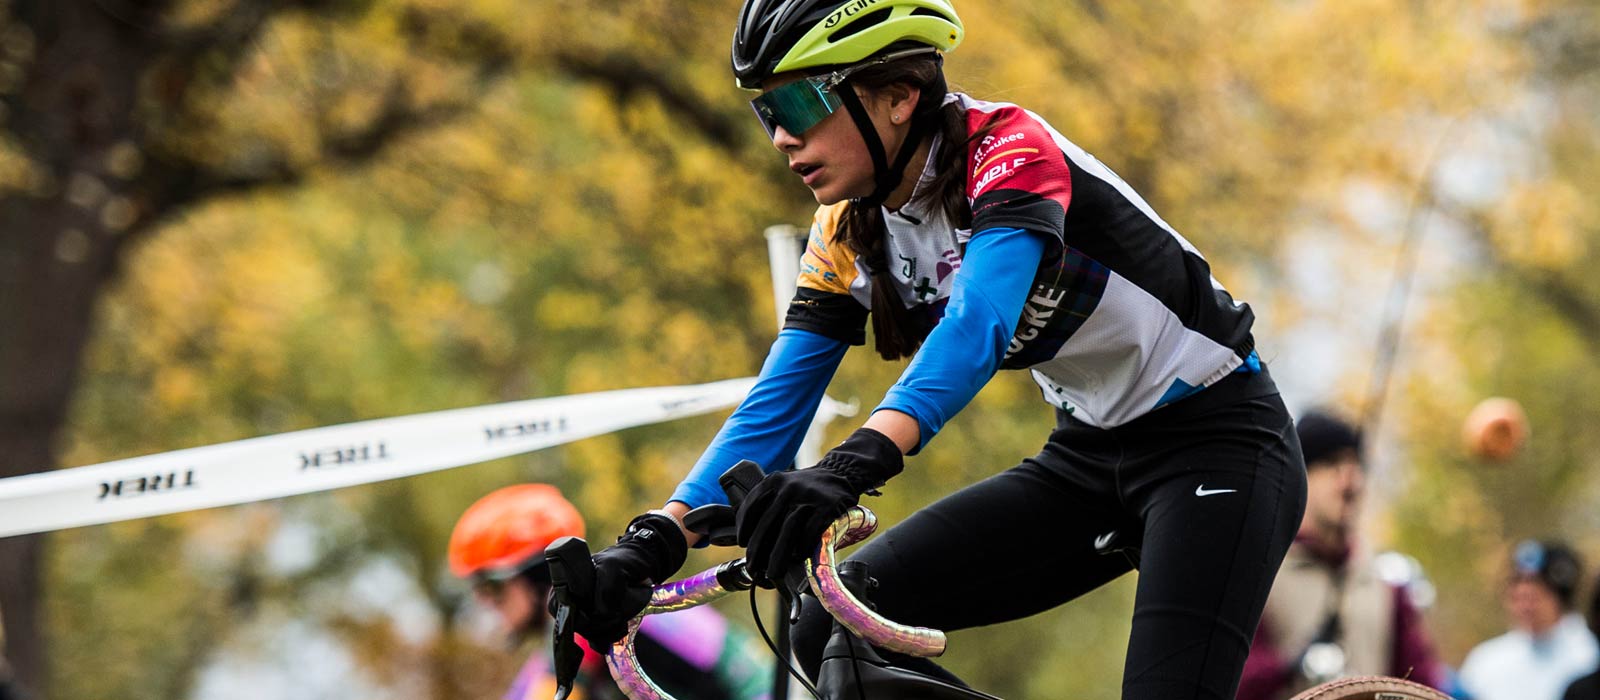
This section describes cyclocross (CX) skills that you will do with your bicycle in a race. Practice them regularly and you will feel smoother, faster, more confident…and definitely look cool. While the skills are listed in typical race order, there is great benefit to practicing them one at a time. You can also do many of these things by yourself in a small space.
The objective at the start is to get clipped into your bicycle and to be able to accelerate away from the line as fast as possible when the whistle is blown.
Crank Position: One foot should be on a pedal, whichever is most comfortable for you. That pedal should be at or slightly above horizontal facing forward so you have a powerful pedal stroke.
Body Position: There are two methods to try.
Standing: Non-pedal foot flat on the ground, pedal foot and leg firmly placed. Butt over the top tube.
Advantage: Strongest initial pedal stroke
Disadvantage: Not being seated when clipping in the other foot can be difficult.
Seated: Non-pedal foot on the ground, probably a tip toe. Butt on the saddle (if tall enough). ←recommended
Advantage: Highly repeatable clip in.
Disadvantage: First pedal stroke will be weaker.
Gear Choice: This one is personal and takes practice. Try several different ones and consider that your body position may also impact it as well as the course surface or incline.
For starters, pick a gear that is 3-4 gears harder than the easiest gear. Practice several starts. If you were spinning out very quickly, shift to a harder one. If you had trouble getting going, especially if it is bumpy ground, shift to an easier one.
Trick question: Do you use your handlebars to turn your bike?
A: No, you use your handlebars to control the bike. Understanding how to reposition yourself on the bike is the best way to turn the bike.
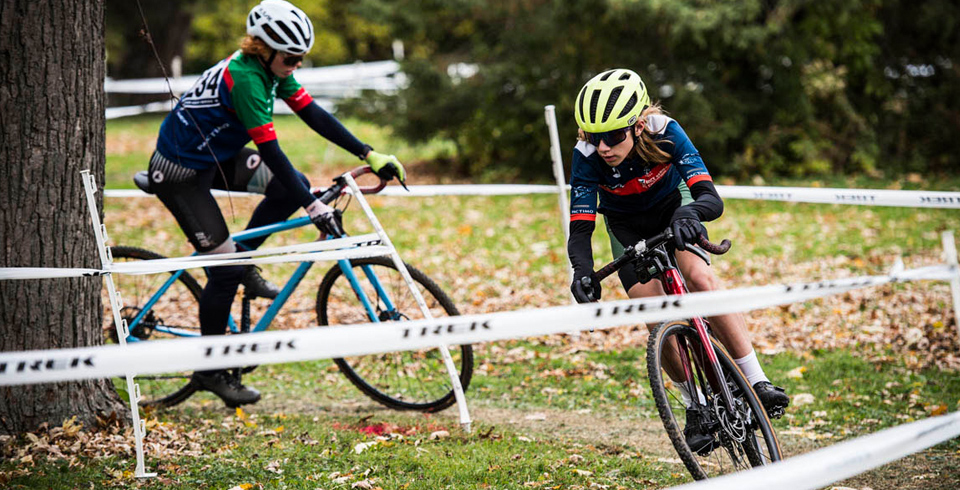
Turning is very important in cyclocross and the only thing you’re going to do more than turn is pedal. Generally, you want to turn as wide as possible in order to maintain as much speed as possible. You also need to learn the limits of your tires and how to maximize grip. We’ll talk through this in the Drills section. Adapted from the reddit r/cyclocross “ELICAT5” series, think about the following when turning:
Look: Look where you want to go, not where you don’t. (Don’t look at that root you’re trying to avoid! Look at the path you want your front tire to take.)
Belly button: When turning, think about pointing your belly button where you want to go. This sounds weird, but by turning your core and hips, your body will naturally lean and your bike will go that way. (Plus, you can yell “BELLY BUTTON!” at teammates during a race, and they’ll know it’s not just a weird heckle.)
Cyclocross courses typically have features for which you’ll need to get off your bike. There are generally two ‘normal’ methods:
Standard Dismount
To start, keep your hands on the handlebars.
Unclip your right foot. **NOTE: this is the way the majority of riders dismount. A few do it in reverse: unclipping their left foot and dismounting on the drive side, performing a “dirty side dismount.**
Swing your right leg behind the bike and behind your left leg.
Step down to the ground with your right foot at the same time you unclip your left foot.
Start running! (Bring your bike with you, duh.)
As you get faster, you can think about moving your hand from your dominant side to the top tube before unclipping your non-dominant side. Then you’ll be ready to pick up your bike right away.
Step Through
A step through is the same as the Standard, but instead of swinging your dominant leg outside your non-dominant leg, you’ll ‘step through’ between your leg and frame. This will allow a more natural stride but you risk tangling if you can’t unclip well.
Trick question: How short should your stop be before getting on or off your bike?
A: You should not be stopping at all! Getting on and off your bike as smoothly as possible without stopping is the goal. Smooth is speed.
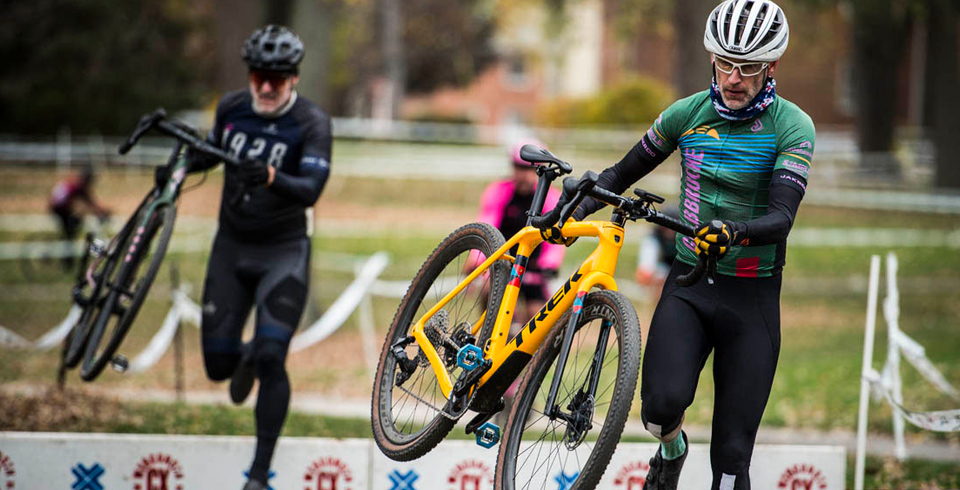
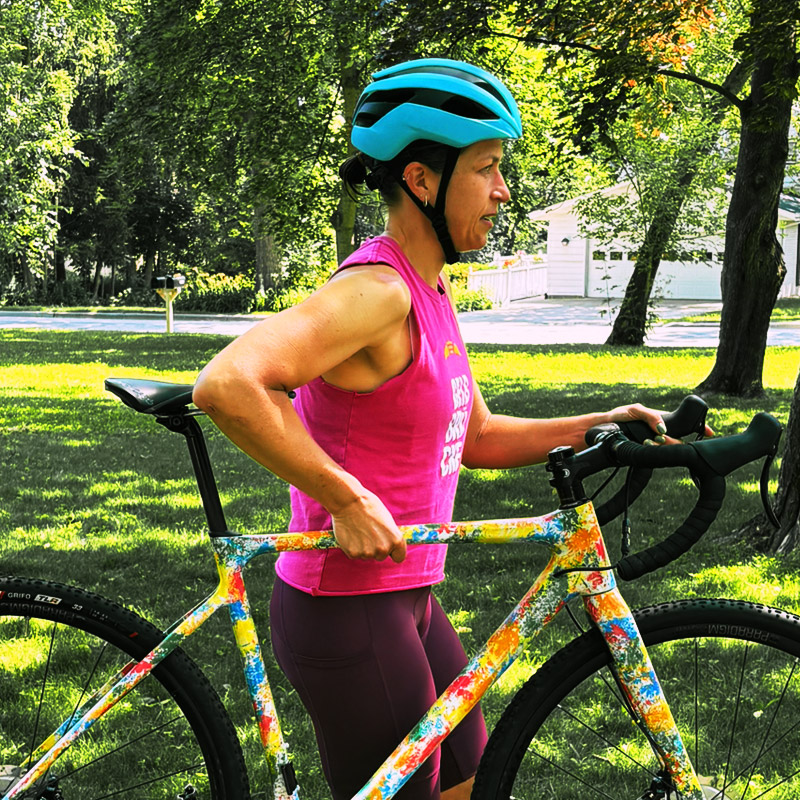
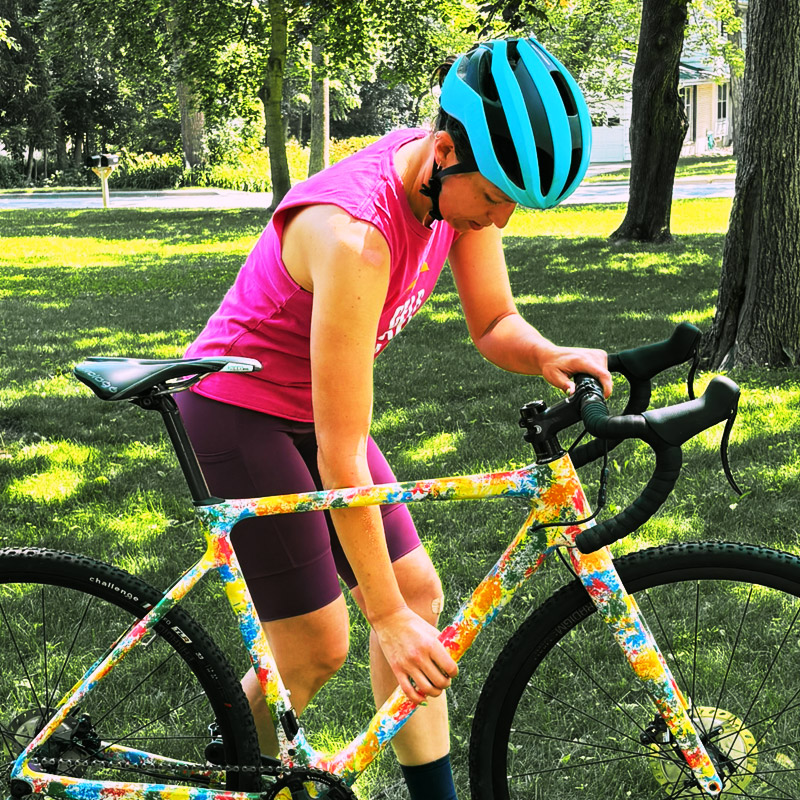
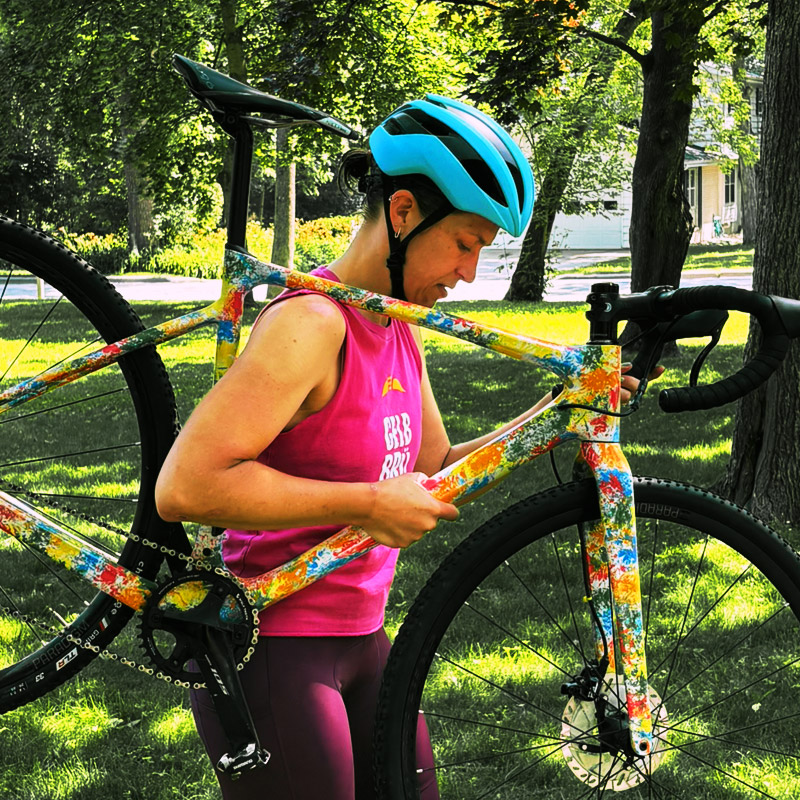
There are two methods used for carrying the top tube. This is the most common type of carry and will be used when you are going over barriers or smaller course features. If you are running with the bike for a long time, use the shouldering method.
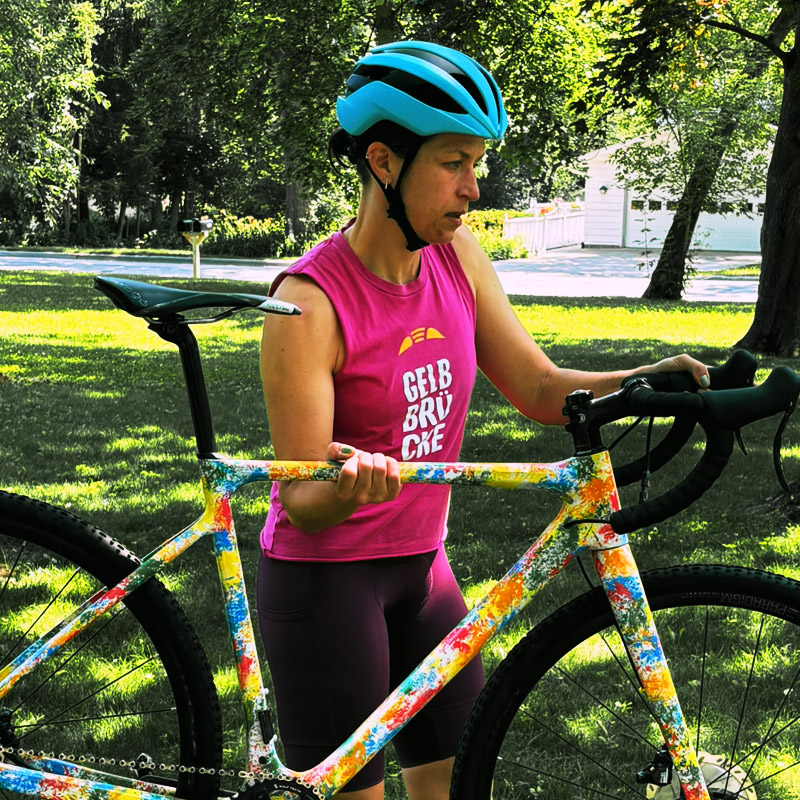
Type 1: Elbow Down ←recommended
For this carry, your hand will be on the top tube and your elbow will be along your side to start and your forearm is horizontal. The elbow and arm are between the seat and your body.
Advantage: This allows you to hold the bike very high if needed. It also sets you up to shoulder more easily.
Disadvantage: This is more fatiguing and more difficult with heavy bicycles.
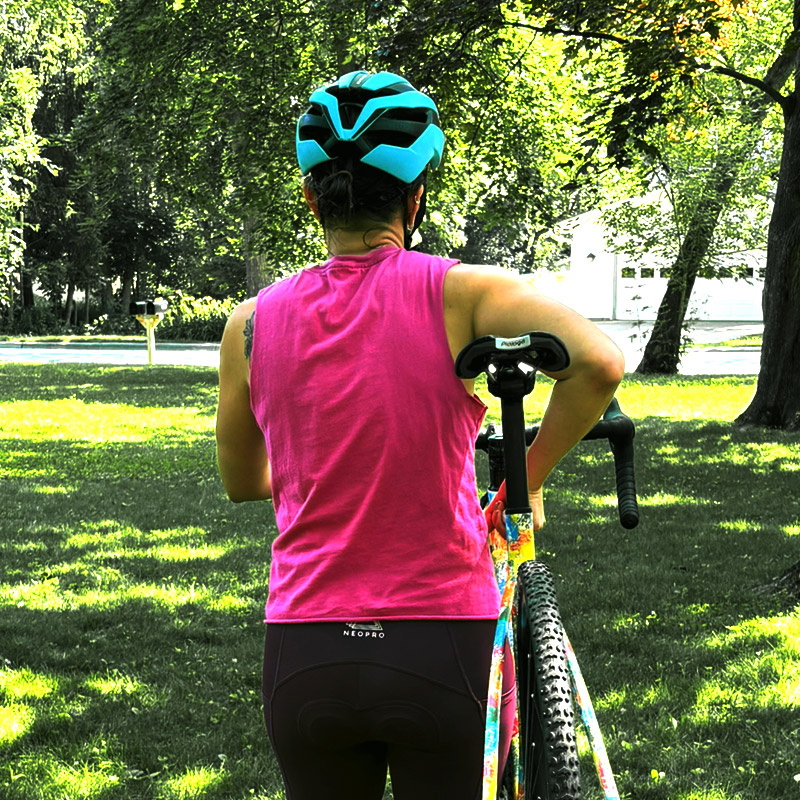
Type 2: Elbow Up
For this method, your hand will be on the top tube but your elbow is up away from your body and your forearm is vertical.
Advantage: Easier
Disadvantage: this limits how high you can hold your bike and short riders might have trouble clearing tall barriers.
Carrying the bike - Picking it up
Type 1 - Elbow down
Saddle position is outside elbow, allowing higher carries.
Type 2 - Elbow up
Saddle position is inside elbow, which may provide more leverage, but limits how high you can lift the bike.
Carrying the bike - Shouldering it
Method 2: Shouldering the bike
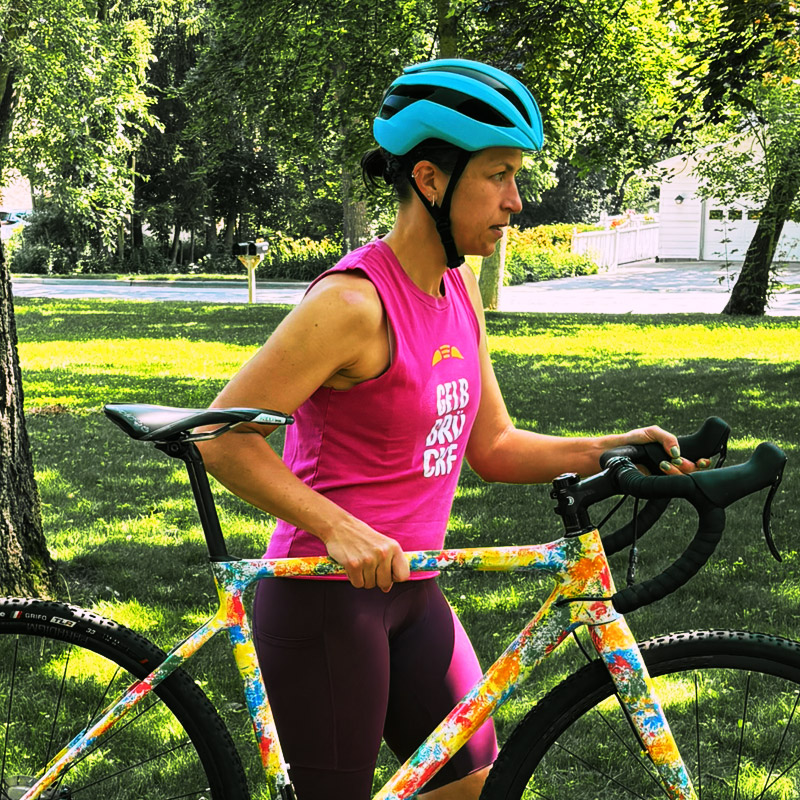
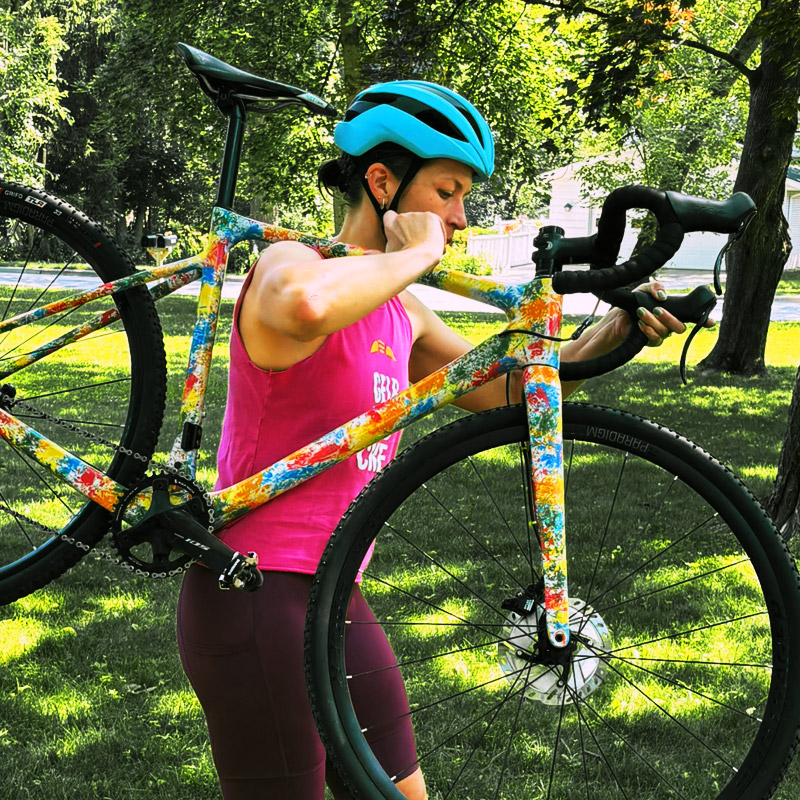
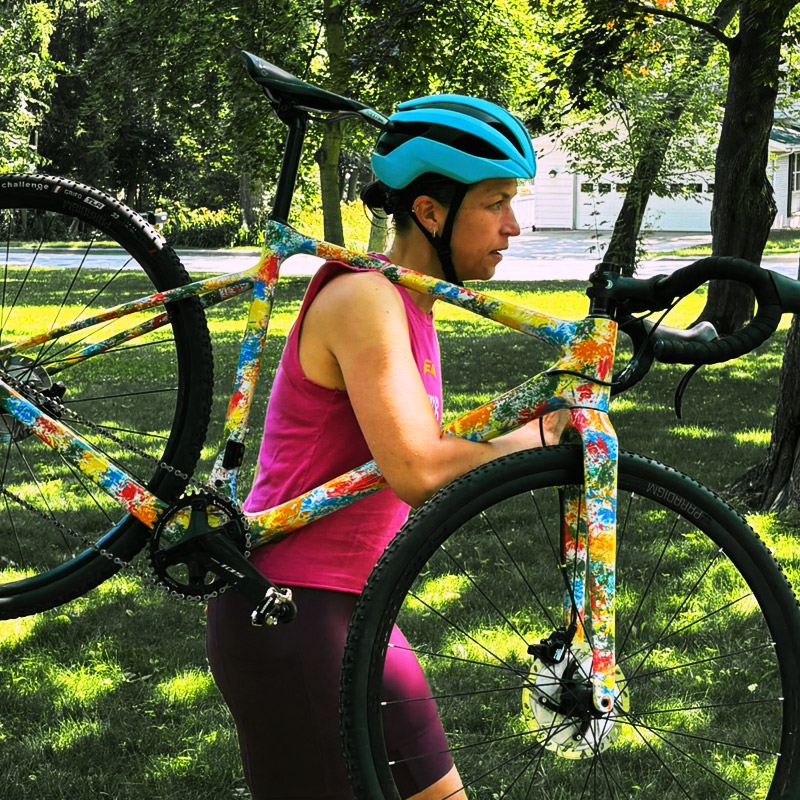
If you have a long way to run, have a large hill or many stairs to climb, or are on a very muddy or sandy surface, you’ll need to pick your bike up off the ground. Dismount as normal and then get the top tube of your bike onto your shoulder.
Method 1: Invert your hand so it is facing up. Perform a bicep curl and bring the top tube to your shoulder and slide your elbow and arm through the triangle.
Method 2: Move your hand from the top tube to the down tube about where the bottle cage would be. Grab the down tube and slide the bike up your arm until the top tube is on your shoulder.
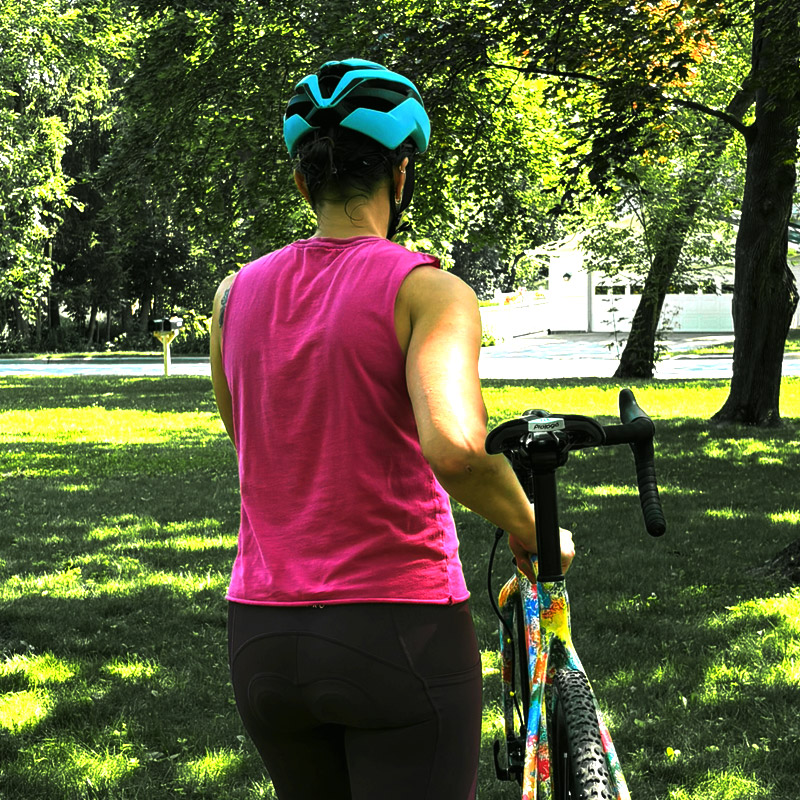
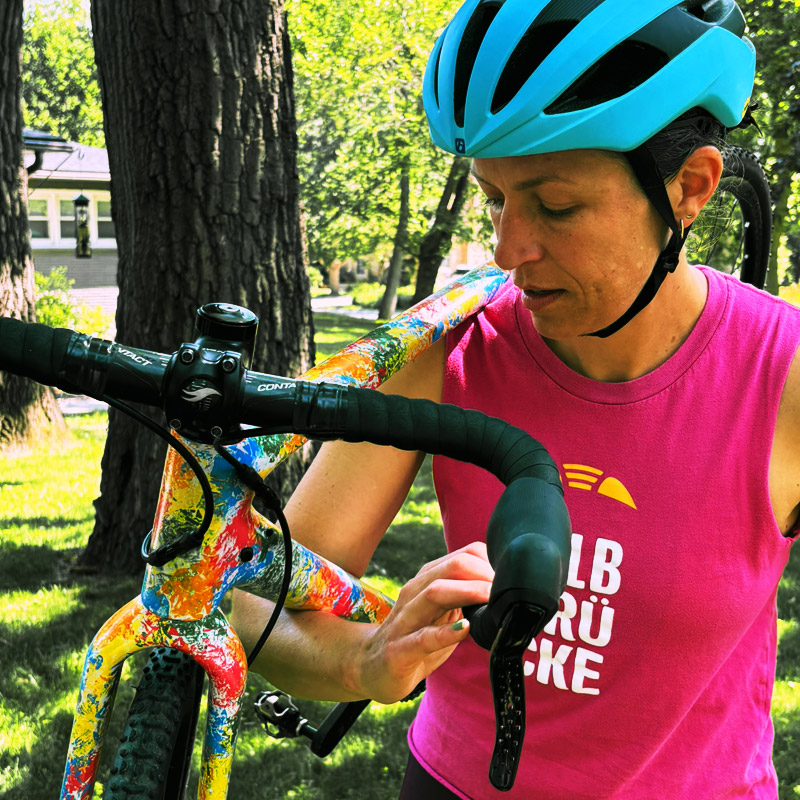
After the bike is on your shoulder, slide your arm under the down tube and grab on to the opposite side dropbar. It’s kinda hard to explain - ask for a demo!
Some people like to put their arm in front of the head tube instead of under the downtube. Try them out for yourself. Amy is demonstrating the ‘under’ version.
Carrying your bike - Shouldering it
Method 1 - Curl
No leaning down, but less control of the bike frame and more weight on the shoulder.
Method 2 - Slide
Further reach, but more control of the bike frame and less weight on the shoulder.
Shoulder carry
Thread arm under down tube and grab bottom of handlebars for more control of both the frame and the bars.
This is the hardest skill to perform, but definitely the coolest-looking one once mastered. To start, you should be next to your bike with the bike on the ground.
With both hands on the hoods, open your hips toward the bike seat
Lift the inside leg in a chicken wing manner with a high knee
Bring your leg over the saddle and aim to set your inner thigh down on the saddle
As you finish your stride, the saddle will slide to the proper seating position
Get your feet on the pedals, and you're off!
That sounds much simpler than it really is, so practice a lot!
Take the steps of the dismount and add them incrementally. Start with only lifting your right leg over to the left side of the bike while coasting, but don’t unclip or leave the left pedal. Put your right leg back on the right side of the bike and pedal a couple times. Repeat.
Once comfortable with that, add unclipping or leaving the left pedal to put both feet on the ground and jog a few steps.
Once that feels good, you can add picking up the bike and lifting it to memorize the proper hand position.
If you are feeling uncomfortable coasting on your left pedal with your right leg hanging directly behind it, you should practice a ‘kick’ drill. Keeping your hands on the hoods, unclip your right foot, swing it over to the left side of your bike, and kick along like a scooter while keeping your left foot on the pedal. Try doing turns and changing momentum with kicks to get familiar with navigating your bike like this.
Dismounting end goals
Approach obstacles with speed and care
Get off the bike and over the obstacles safely, smoothly and without stopping
Get cognizant of where your pedals are once you've dismounted for faster remounting
Take the remount and break it down into parts, starting with walking along next to your bike and just lifting your knee over the saddle and placing your thigh on the saddle. Start practicing on a gentle downhill if possible. This may take hundreds (thousands?) of repetitions to get down well. It will be frustrating, but be patient with yourself - you can do this! As you get more consistent with walking and landing in the right spot, you can start to speed up your walking to a slow jog. You can also start to add in the beginning of pedalling.
Reminders and tips:
DO NOT JUMP. You should be sliding onto the saddle, not dropping down onto it. (Ouch!)
DO NOT STUTTER STEP (add an extra hop as you’re swinging your leg over). If you stutter, slow it back down. You may need a firm push off from your foot to get high enough for the saddle. Again, not a jump, but a lift.
Remounting end goals
Get back in the saddle without stopping or stutter-stepping
Get back in the saddle without hurting yourself in that area
Get a feel for where your pedals are without looking at them, and get clipped in as quickly as possible
When you are turning, your crank arm/pedal on the outside of the turn should be pointed down (or at least level). By putting the opposite pedal down you will be more stable in the turn and will also avoid the risk of striking the inside pedal on the ground. As you progress, this will also help to achieve faster turns.
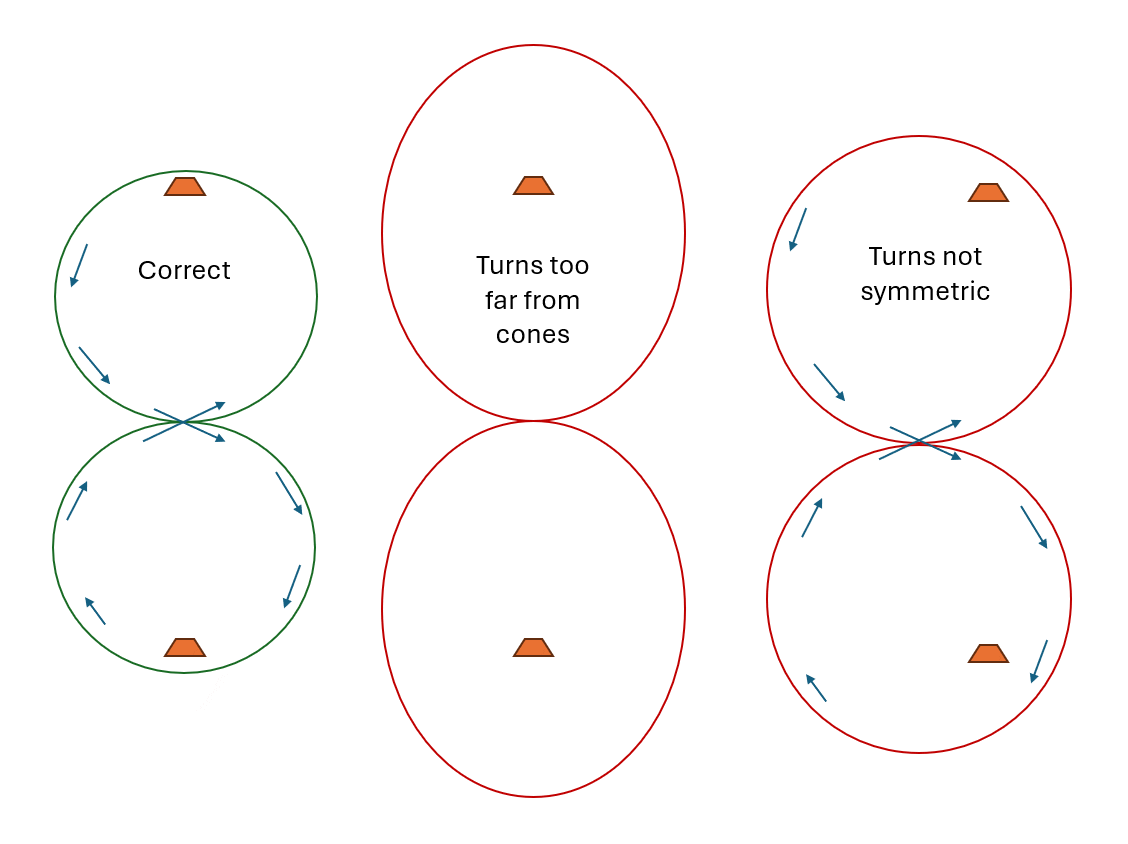
Figure 8
This is the simplest drill, but perhaps the most useful one here. Each person needs only 2 cones.
Place two cones approximately 10 feet apart. Seriously, 3 big steps, and that’s it—no further apart!
Ride in figure 8s around these two cones.
After 3 minutes, move the cones further apart (15’) and repeat the figure 8s.
After 3 more minutes, move the cones further apart (20’+) and repeat the figure 8s.
After 3 more minutes, move the cones to the original position and repeat figure 8s.
It’s that simple. Focus on “Looking and Belly Button.” Your turns should be symmetric and you should be as close as possible to the cones, and at a 90 degree angle to them when you’re going by.
Drill - Figure 8s
Turning drills, continued
Figure 8s - Variations
Helper Cones
If you have trouble staying close to the cones, add another one 1 foot outside the existing ones and go through the ‘gate’ created by these.
Try to go through the gate perpendicular
Camber / Incline
Put the set of cones on a slight hill. Consider inclines that are both parallel and perpendicular to the cones.
When you use a hill, you need to change the direction of the figure 8 to get familiar with turning both ways on the hill.
One Handed
Starting with the cones close together, perform the figure 8s with only one hand on the bars. This will engage more of your core and give you smoother turning
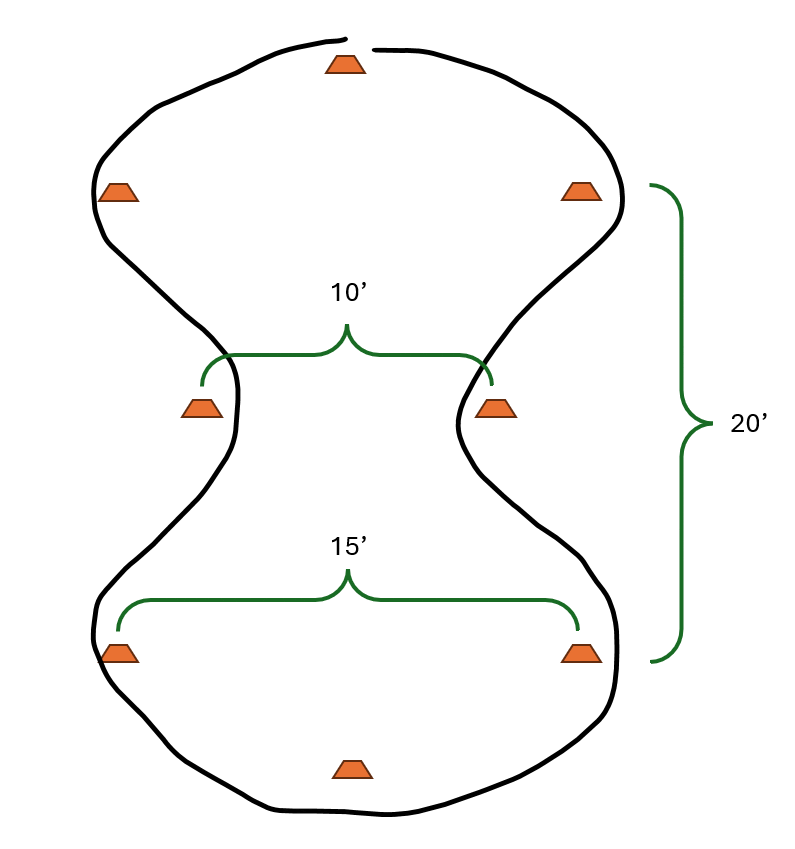
The peanut drill is named that because it is the shape of a peanut. You will turn both directions because of the middle cone set. Set up 8 cones as shown in the layout below with rough dimensions. This drill can be done with multiple people, but make sure you have a clear spot ahead of you to focus on the turns.
Start riding around the peanut going outside the three cones on each end and inside the middle two cones. You should be moving faster than the figure 8 drills but make sure the setup is small enough that the middle cones require focus to turn well.
Focus on “Look, Lean, Belly Button” and think about setting yourself up for the middle cone. The drawn image shows a very symmetric track, but yours will likely be different. Make sure you change directions after a little while to practice going both ways.
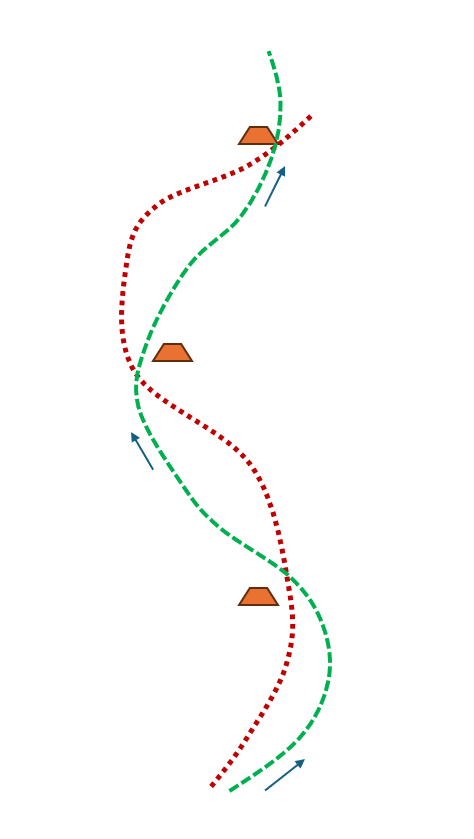
When doing this drill, think a lot about ‘turning early’. When you are setting up for the 3 cone slalom, you should be heading toward the middle cone when you reach the first outside cone. This will allow you head toward the final cone and exit more quickly.
Drill - Peanuts
Peanut layout
Slalom portion
Green line shows ’turn early‘ and allows a faster exit (see arrow).
Turning drills, continued
Peanuts - Variations
Camber / Incline
Similar to the figure 8s, put the cones on a hill at any real angle. How fast can you go without touching the brakes?
Stretching or Squishing
Adjust the length or width and location of the middle two cones to give a different feel for the same drill.
Increase gear
Start in the easiest gear you have. At the same location on every lap, shift one gear harder.
You’ll find that you starting doing it faster and get better at maintaining speed because accelerating in a hard gear is difficult.